
Getting started with Packer in 2024
Photo by Marek Okon on Unsplash
TL;DR Looking to build Ubuntu image for qemu on Fedora or Macos check my solution in my repo for packer experiments 1.
I’ve revisited my notes on automating the creation of virtual machines on local systems, this time using Fedora Linux to build an Ubuntu 22.04 image. Previously, I documented my process on Medium 2, but since then, there have been significant changes. Different operating systems often require different automation tools, and even within the same OS, different versions may necessitate distinct approaches. In this article, I’ll delve into the usage of cloud-init for non-cloud installations and the transition from JSON to HCL file format in Packer3.
Install Packer
To get started, we need to install the Packer command-line tool. Follow these steps based on your operating system:
Fedora:
$ sudo dnf install -y dnf-plugins-core
$ sudo dnf config-manager --add-repo https://rpm.releases.hashicorp.com/fedora/hashicorp.repo
$ sudo dnf -y install packer
For Fedora, we first install dnf-plugins-core, add the package repository, and then install Packer using dnf.
MacOS:
$ brew install packer
For MacOS users, Packer can be easily installed via Homebrew with a single command.
After installation, you can verify that packer is installed correctly by running the following command:
$ packer --version
1.9.4
You can find more information about installation process on the Packer homepage 4.
Setup Qemu Plugin
packer is modular and consists of different plugins, making it highly extendable and allowing users to install only the modules they need. For our purposes, we’ll be utilizing the qemu virtual machine manager. To install the Qemu plugin, you have two options:
Option 1: Command Line Installation
Use the following command:
$ packer plugins install github.com/hashicorp/qemu
Option 2: Build Configuration File
Alternatively, you can specify the plugin in your build configuration file. Add the following block to your configuration file:
# ubuntu.pkr.hcl
packer {
  required_plugins {
    qemu = {
      version = "~> 1"
      source  = "github.com/hashicorp/qemu"
    }
  }
}
After adding the block, run the following command:
$ packer init
By following either of these methods, you’ll ensure that the Qemu plugin is properly set up for Packer environment.
Build
Before proceeding with the build, let’s configure the Qemu source block in the configuration file. You can find more detailed information about the plugin on the official documentation page 5. While the provided example may not work out of the box, it serves as a useful starting point for customization.
# ubuntu.pkr.hcl

source "qemu" "ubuntu" {
  # Configuration options for building the image
}
In this block, you’ll specify the necessary configuration options for building your image. This will include details such as the source image, provisioning steps, and any other customizations required for your setup.
Using this structure, you can tailor the configuration to your specific needs and ensure that the build process aligns with your requirements. Once configured, you’ll be ready to initiate the build process and generate your virtual machine image.
Install Image
Before proceeding with the build, we need to obtain the Ubuntu ISO image url. For simplicity, we’ll focus on a basic Ubuntu image that can serve as a test environment for building applications. You can find the desired image on the release page 6.
NOTE: Additionally, Ubuntu provides cloud images that are convenient for use with virtual machines straightaway. These can be found at 7.
To specify the installation image in the source block of the configuration, add the following attributes:
# ubuntu.pkr.hcl

iso_url      = "https://releases.ubuntu.com/22.04.4/ubuntu-22.04.4-live-server-amd64.iso"
iso_checksum = "file:https://releases.ubuntu.com/22.04.4/SHA256SUMS"
The iso_url attribute points to the direct download link for the Ubuntu install image, while iso_checksum ensures the integrity of the downloaded file by automatically fetching the checksum from the provided URL. Alternatively, you can download the checksum locally and include it in your repository.
With these attributes added, you’re ready to proceed with the configuration of your build process.
VM Settings
To configure the virtual machine settings and specify the output image name, include the following settings in the configuration:
# ubuntu.pkr.hcl

vm_name          = "ubuntu.qcow2"
format           = "qcow2"
output_directory = "output"
In this configuration:
vm_name: Specifies the name of the output image file for the virtual machine.format: Specifies the format of the output image file, in this case,qcow2.output_directory: Specifies the directory where the output image will be saved.
These settings ensure that your virtual machine is configured properly and that the resulting image is generated according to your specifications.
Boot Configuration
To ensure a smooth boot process and proper provisioning of the virtual machine, we need to configure the boot settings and set up access to the image after it’s provisioned.
First, define a variable for the default user password in your configuration:
# ubuntu.pkr.hcl

variable "password" {
  type    = string
  default = "ubuntu"
}
For more details about variables, refer to the 8.
Next, provide the boot settings and access configuration:
# ubuntu.pkr.hcl

boot_wait         = "3s"
boot_key_interval = "150ms"
http_directory    = "http"

ssh_username      = "ubuntu"
ssh_password      = var.password
ssh_timeout       = "30m"
shutdown_command  = "echo '${var.password}' | sudo -S shutdown -P now"
Explanation of boot settings:
boot_wait: Specifies the duration to wait before starting the typeboot_commands.boot_key_interval: Specifies the interval between each key sends to the qemu process via VNC.http_directory: Specifies the directory where the HTTP server for cloud-init configuration files will be hosted.
Additionally, Ubuntu uses Cloud Init for auto-installation. To make it work with Packer, create the required files:
mkdir http
touch http/user-data
touch http/meta-data
Ensure you have both http/user-data and http/meta-data files for cloud-init configuration. packer will spin off a web server to serve these files via HTTP.
To configure the boot commands, follow these steps:
- Identify the boot command based on Grub settings in the install image and settings extracted from the Cloud Init site.
- Convert the identified boot command to the
boot_commandsformat.
Example of boot commands:
# ubuntu.pkr.hcl

boot_command = [
  "c<wait>linux /casper/vmlinuz --- autoinstall 'ds=nocloud;s=http://:/'<enter><wait>",
  "initrd /casper/initrd<enter><wait><wait>",
  "boot<enter><wait>"
]
Explanation of boot commands:
c: Key press for Grub to enter the command line to input boot commands.<wait>: Configurable delay to ensure the virtual machine is ready for inputting new key presses.linux /casper/vmlinuz: Specifies the Linux kernel to boot.autoinstall 'ds=nocloud;s=http://:/': Configures the auto-installation parameters using cloud-init.
These configurations and boot commands should facilitate the smooth provisioning of your Ubuntu virtual machine image.
If you encounter any issues during the provisioning process, consider the following troubleshooting tips:
- After the install image boots, inspect the
dmesgoutput to verify the presence of the expected command text. - Alternatively, check
/proc/cmdlineto ensure that the kernel attributes are provided correctly.
CloudInit Configuration
Learning the basics of cloud-init configuration during auto-installation can be instrumental in streamlining your provisioning process. Refer to the following resources for more insights:
- Autoinstall Quickstart 9
- Creating Autoinstall Configuration 10
- nocloud DataSource 11
- Running Cloud-init Locally 12
- Cloud-init Examples 13
Now, let’s delve into the configuration example http/user-data:
#cloud-config
autoinstall:
  version: 1
  identity:
    hostname: ubuntu-server
    # Generate with `mkpasswd -m sha-512`
    password: '$6$9xa2L/Jtd/BUMqh4$trKWwbPGdJDpU.R8UrEW9eXDi.joNBkVyS2XLqbetw2Hp7uUPEJVbwn7Jq2Ddt0P0wWiM1B9lbZ8dff5WlYpF0'
    username: ubuntu

  ssh:
    install-server: true
    allow-pw: yes

  locale: en_US

  keyboard:
    layout: us

  storage:
    layout:
      name: lvm

  snaps:
    - name: juju
    - name: lxd

  packages:
    - net-tools
In this YAML configuration:
autoinstallsection contains the auto-installation parameters.identitydefines the hostname, username, and hashed password for the default user. It is required be the same as for packer ssh configs.sshconfiguration enables SSH server installation and allows password authentication. It allows automaticaly to download Public SSH keys from Github.localeandkeyboardconfigurations specify system locale and keyboard layout, respectively.storageconfiguration sets the storage layout to LVM.snapssection installs specified snap packages.packagesinstalls additional packages such as net-tools.
For generating the hashed password, you can use the command:
$ mkpasswd -m sha-512
If the auto-installation proceeds successfully, you shouldn’t encounter any interactive prompts. However, if issues arise, you can troubleshoot using the following logs:
/var/log/installer/autoinstall-user-data: Autoinstall log./var/log/cloud-init-output.log: Cloud-init output log.
Collect Everything
To organize everything into a single place, let’s organise files like this:
$ tree
├── http
│   ├── meta-data
│   └── user-data
└── ubuntu.pkr.hcl
In the ubuntu.pkr.hcl file, include all configurations and settings:
# ubuntu.pkr.hcl

packer {
  required_plugins {
    qemu = {
      version = "~> 1"
      source  = "github.com/hashicorp/qemu"
    }
  }
}

variable "password" {
  type    = string
  default = "ubuntu"
}

source "qemu" "ubuntu" {
  iso_url      = "https://releases.ubuntu.com/22.04.4/ubuntu-22.04.4-live-server-amd64.iso"
  iso_checksum = "file:https://releases.ubuntu.com/22.04.4/SHA256SUMS"

  vm_name             = "ubuntu.qcow2"
  format              = "qcow2"
  output_directory    = "output"
  shutdown_command    = "echo '${var.password}' | sudo -S shutdown -P now"

  # Comment next line on MacOS
  accelerator         = "kvm"
  cpus                = 4
  memory              = 4096
  use_default_display = true
  # To not run Qemu window. For Debuging set the value to `false`
  headless            = true

  http_directory = "http"
  ssh_username   = "ubuntu"
  ssh_password   = var.password
  ssh_timeout    = "20m"

  boot_wait = "3s"
  boot_command = [
    "c<wait>linux /casper/vmlinuz --- autoinstall 'ds=nocloud;s=http://:/'<enter><wait>",
    "initrd /casper/initrd<enter><wait><wait>",
    "boot<enter><wait>"
  ]
}

build {
  name    = "ubuntu"
  sources = ["source.qemu.ubuntu-2204"]
}
Once everything is set up, initiate the build process with the following command:
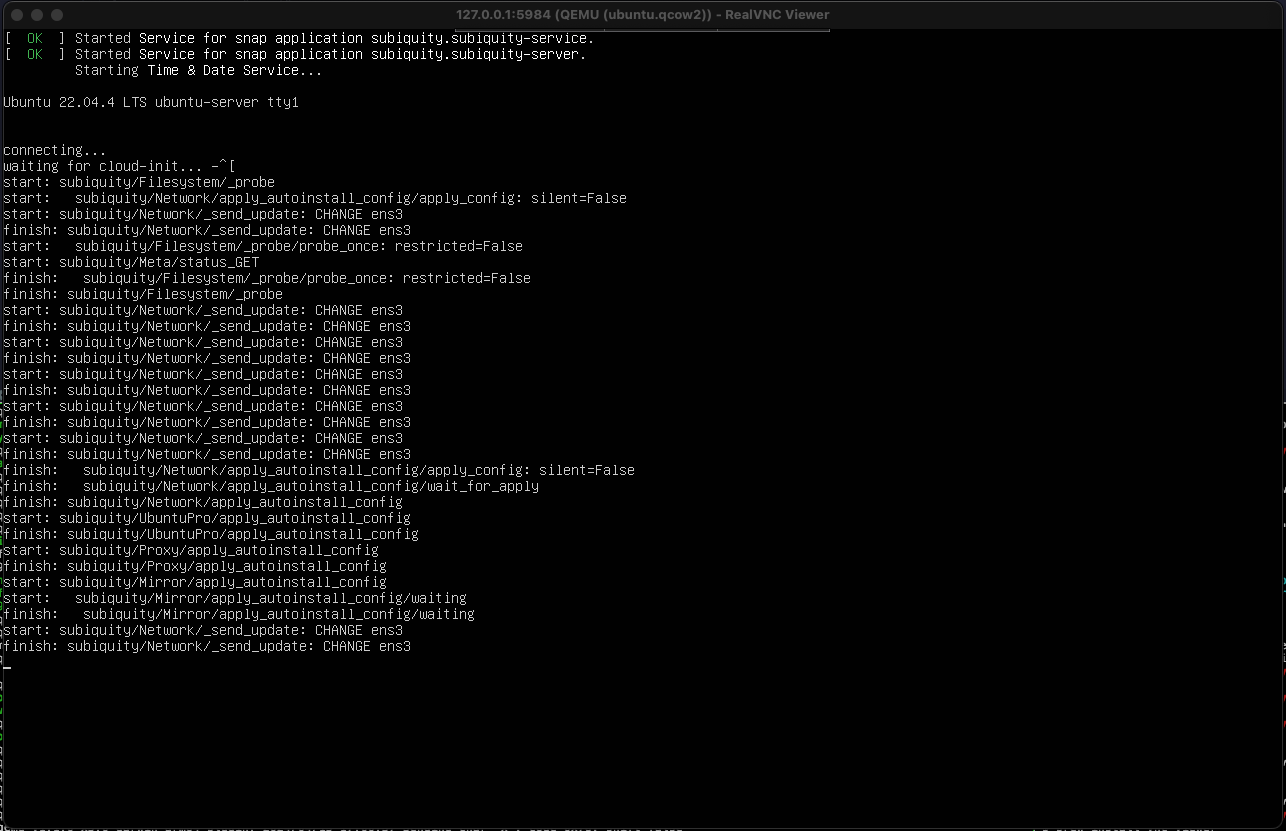
$ PACKER_LOG=1 packer build ubuntu.pkr.hcl

...
==> qemu.ubuntu: Connected to SSH!
==> qemu.ubuntu: Gracefully halting virtual machine...
==> qemu.ubuntu: Converting hard drive...
Build 'qemu.ubuntu' finished after 30 minutes 56 seconds.
This command will start building your Ubuntu virtual machine image according to the configuration.
Test
After 10-20 minutes, the build should be finished, resulting in the file output/ubuntu. This file is our image. Let’s verify that it works by running it with qemu:
$ qemu-system-x86_64 -name ubuntu-server \
	-drive file=output/ubuntu.qcow2,if=virtio,cache=writeback,discard=ignore,format=qcow2 \
	-machine type=pc,accel=kvm  \
	-m 4096M \
	-smp 4 \
	-device virtio-net,netdev=user.0  \
	-netdev user,id=user.0,hostfwd=tcp::4141-:22
This command boots the newly created image. It should also listen on local port 4141 to allow access to the machine via SSH:
$ ssh ubuntu@localhost -p 4141

...
ubuntu@localhost's password:
Welcome to Ubuntu 22.04.4 LTS (GNU/Linux 5.15.0-102-generic x86_64)

ubuntu@ubuntu-server:~$
You can use this SSH command to verify that you can connect to the Ubuntu machine running.
Conclusion
Combining and configuring everything for building virtual machine images with Packer can be quite challenging, especially for someone who is not a system administrator. It often requires a lot of experimentation and reading through documentation.
I hope you find these instructions useful for your own projects. If you’re interested, you can find more of my experiments with Packer in my Git repository 1.
Feel free to explore and adapt these configurations to your own needs. Happy building!